How to get started with your 3D Printer
So you got a 3D printer? You assembled it and printed some of the test prints*, but what do you do now? How do you actually start making stuff? Let’s look at the 3 steps necessary to create your very own print.
*Note: If you haven’t gotten that far, follow your printer’s set-up manual or find a YouTube video to show you how and then come back!
Step 1: Find a Design or Create Your Own!
First, you have to decide what it is you want to print. All 3D printable designs start with CAD (computer-aided design) software. There are many, many different CAD softwares that you can use, and they vary in complexity, availability and cost.
One of the best software programs for getting started in 3D design is Tinkercad. Tinkercad is free and online, and it only takes a couple of minutes to sign up and start designing.
Tinkercad is much easier to use than traditional CAD programs because you start with 3D shapes, such as boxes, cylinders and spheres. (In traditional CAD programs you have to create 2D shapes and then extrude or revolve them to make them 3D.)
However, don’t let the name “Tinker”cad or the bright colors on Tinkercad’s homepage fool you; Tinkercad is a powerful design tool that will allow you to create almost anything you can imagine!
Follow the video tutorial below or use the step-by-step instructions (printable or view on screen) to learn how to create a custom bookmark in Tinkercad. Once you have mastered that, try some of the other projects available from TeachMe3DP.
Use Tinkercad to learn how to design a personalized bookmark to 3D print.
You don’t always have to create projects from scratch, though. Many people have already created 3D designs that you can find on the Internet, download and print. Some of them require you to pay a fee in order to download the file, but many of them are free.
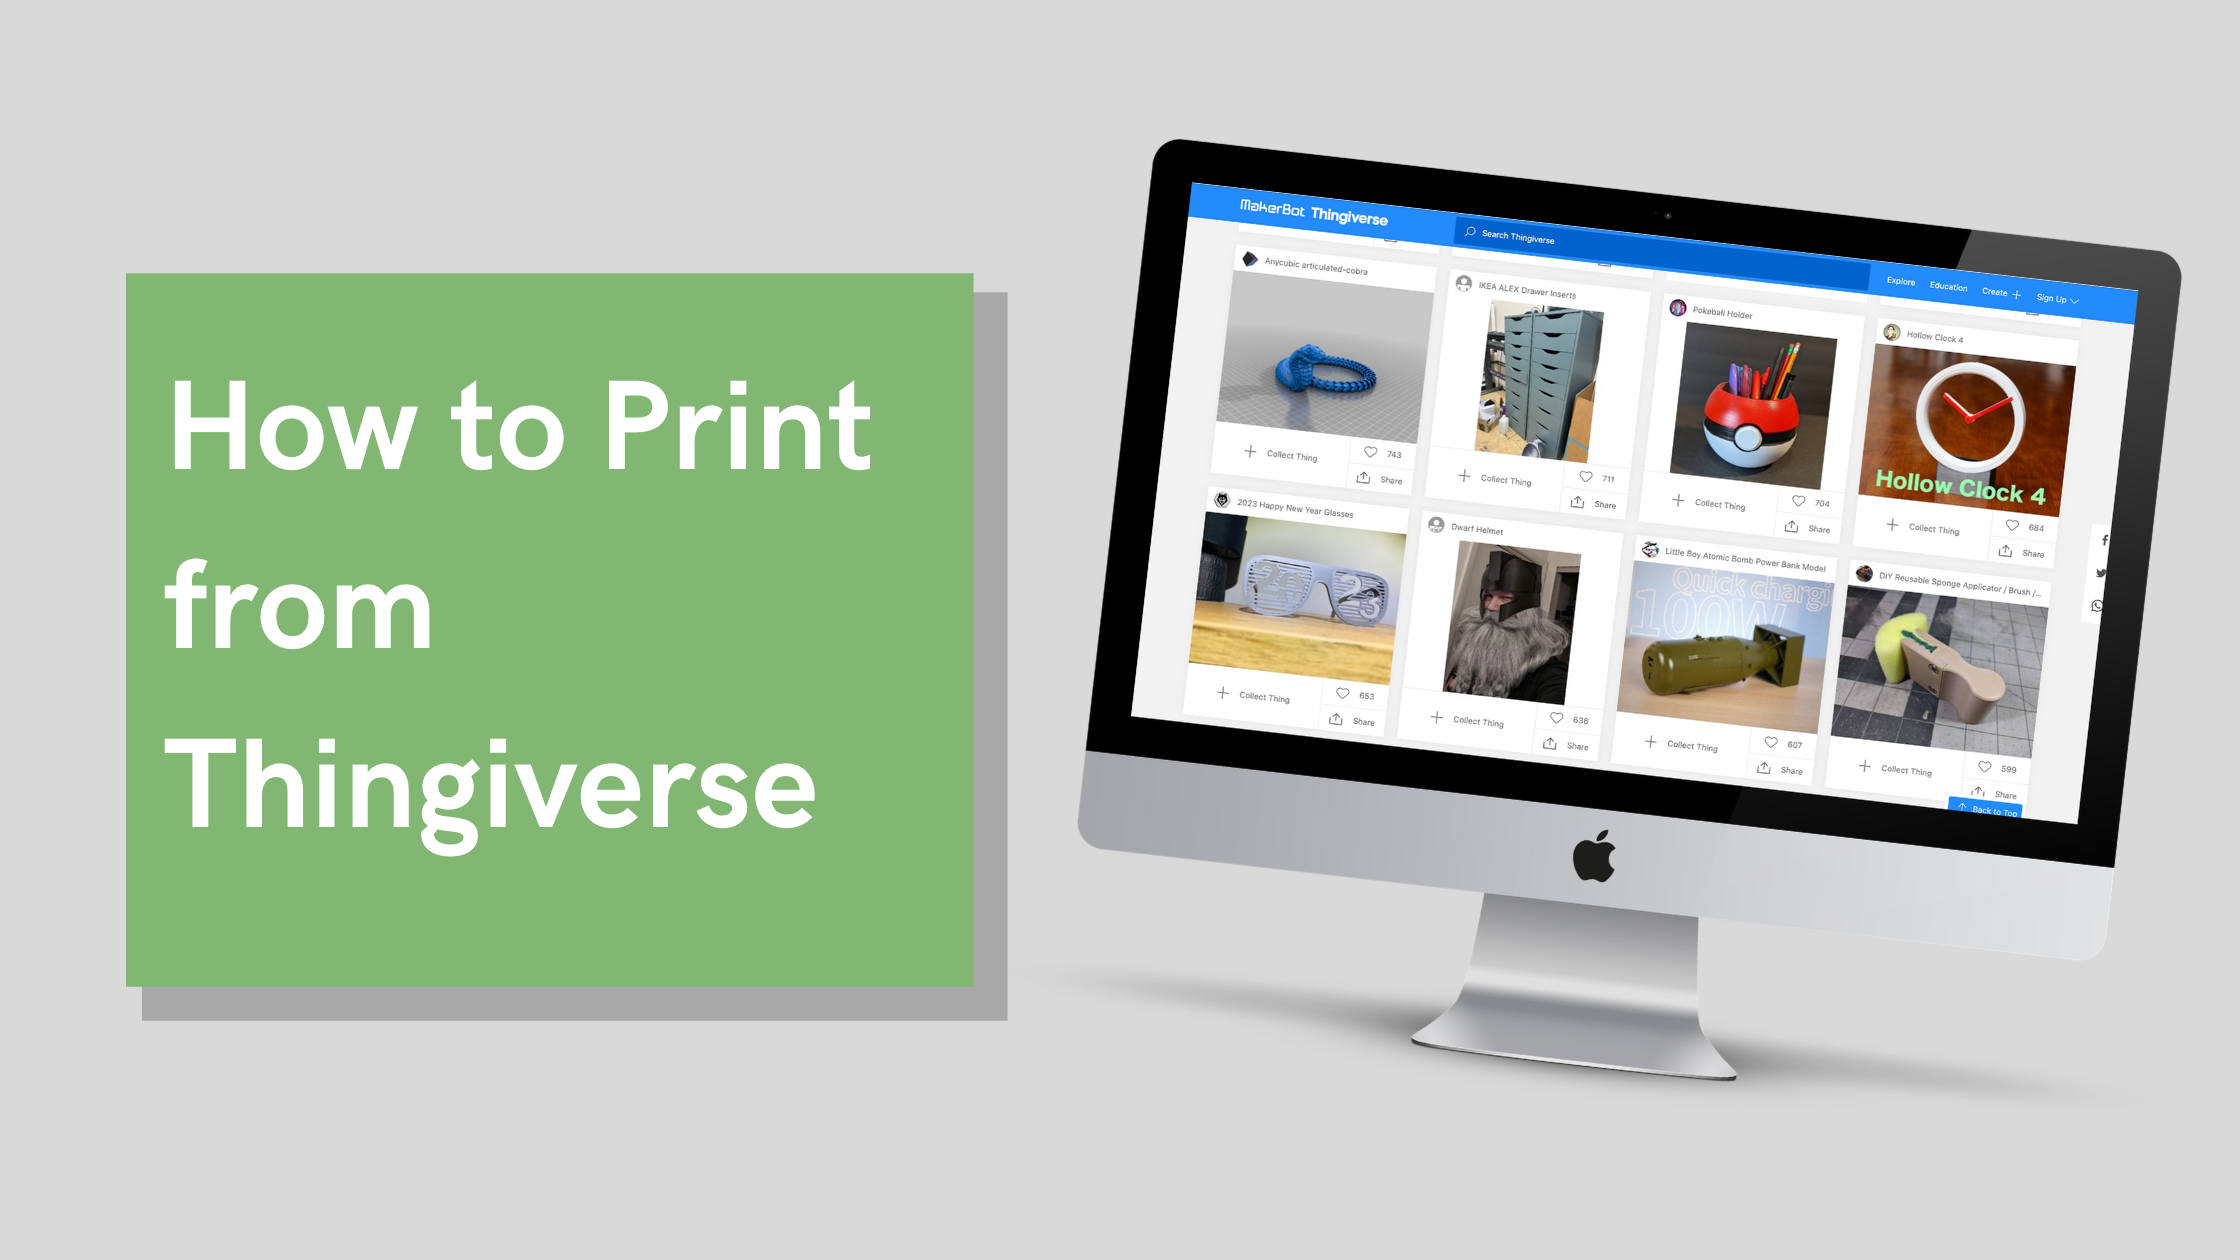
One of the most popular sites for finding free files to 3D print is thingiverse.com. The video below will show you how to download projects from Thingiverse.
Whether you create your own design or download something someone else created, you should have an .stl file saved to your computer when you complete Step 1. Stl is short for stereolithography, which is a 3D design file. But be careful! Your 3D printer cannot read .stl files, so you have to complete Step 2 before you are ready to print!
Step 2: Slice Your File!
Once you have something that you want to print, you need to translate the 3D design file into a file that your printer can read. 3D printers work in layers, so you need to take your 3D model and “slice” it into layers.
There are several programs available for slicing. Many 3D printer manufacturers have their own programs, so you may be able to use a slicing program specifically made for your printer brand. However, you are not restricted to that program. I prefer to use PrusaSlicer because the first 3D printers that I used were from Prusa. That is the slicing program I learned first and know best. It is the program that I use in all of the TeachMe3DP tutorials, so if you don’t already have a slicing program, you can download PrusaSlicer for free and easily follow along with the tutorials. (Another very popular slicing program is Cura from Ultimaker. It is also a free download.)
Once you have imported your .stl file into your slicing program, you will need to make several decisions about how you want to print your project:
Layer height:
A 3D print is made one layer at a time. Choose how thick you want each layer to be. A normal layer height is 0.20 mm. Choosing a thicker layer height will make your project print more quickly. Choosing a thinner layer height will give a smoother surface but will take longer to print.
Infill:
A 3D print is made up of the shell (the exterior part that you can see) and the infill (the part on the inside that you cannot see). Choosing 0% infill will make your object hollow, which usually won’t work well because, depending on the size, it will likely collapse when the printer prints the top layer with nothing underneath to support it. Choosing 100% infill will make your object completely filled, which wastes a lot of filament and makes the print take longer. For most of my projects, I use 20% infill. For something that needs to withstand force (like a screw), I may increase the infill up to 80%. For something large that is primarily decorative, I may decrease the infill to 5%.
Filament:
You will also need to tell the slicing program what type of filament you will be using so that it can tell your printer the appropriate settings (mainly temperature) to use. If you already have a spool of filament, you can look at it to see what type of plastic it is. It should be written on the spool. The most commonly used filament type for homes and classrooms is PLA, but there are others, such as PETG and ABS. PLA is generally preferred because it is easy to print with, is widely available and emits fewer odors and fumes.
Supports:
You will also need to decide whether or not your print needs supports. Since a 3D printer works by printing one layer on top of another, you generally cannot print anything overhanging because there is nothing underneath to hold it up. One way to solve this problem is to tell the slicing program to add supports. The slicing program will identify any parts of your project that are overhanging and will add support material to hold it up during the printing process. After the print is complete, you can use your fingers or some needle-nosed pliers to pull off the support material. Deciding when and how to use support material is a major topic in 3D printing. Stay tuned for another post with a more thorough explanation.
Once you have all of your settings the way you would like them, choose slice now and your slicing program will show you a layer-by-layer breakdown of your project. Be sure to check it carefully to make sure your project will print correctly. Some of the most important things to check:
Look at the first layer. Is your project sitting flat on the printer plate?
If any part of your project is overhanging, does it have support material underneath it?
Do you have any fine details on your project that do not show up when you slice it? (If you do, you will need to adjust your design and re-slice it.)
Step 3: Print Your File
Once you have sliced your design, you need to get the sliced file from your computer to the 3D printer. Most printers use some type of card (i.e. SD card) or memory stick to accomplish this. Some printers can also connect to your wireless network and access your files using a cloud server. If you aren’t sure, check for specific information on your 3D printer model.
In your slicing program, you should have the option to export the .gcode. The .gcode file is what your 3D printer needs in order to make a print. It contains all the information telling the printer what to do for each layer. Insert the card or memory stick into your computer. Save the .gcode file onto that card or stick. Then insert the card back into the printer.
To print your file you need to make sure the filament is properly loaded. Remember to make sure the nozzle is hot before loading or unloading filament! Make sure your printer bed is clean and positioned properly. If you need to add glue or tape to secure your print, do so. This will depend on the type of bed you are using.
Use your printer’s menu to find the project that you have saved onto the card (or saved to the cloud). Then click Print. You do not need to watch the printer print the entire project (although it can be mesmerizing), but you should watch the first layer or two to make sure everything starts like it should. If a print is going to mess up, it usually does it in the first layer, and by catching a messed up print early, you can save yourself lots of time and filament! If anything does mess up, just stop the print, clean off the bed, make any necessary adjustments and restart the print.
Wait however long it takes for your project to print. Remove the plate from the printer, and carefully take your print off the plate. If you had to use support material, carefully remove it. You now have a completed 3D printing project and are ready to make more!


